
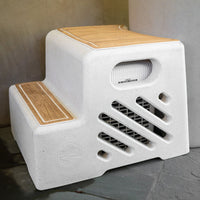

Horizontal Tub - Setup Guide
cold-creek-help-center
Step-by-Step Setup Instructions
Your tub is in place — now let’s get it set up! Setup takes about 5–10 minutes and requires no tools.
Before you begin:
- Black tubs: Must be placed indoors or in a fully covered/shaded area with NO direct sun exposure.
- Clearance: Leave at least 12" behind the middle back vent for access to the chiller, filter, mechanical compartment, and drain spigot.
- Electrical: Requires a standard 120V / 15A household outlet. An extension cord can be used if needed.
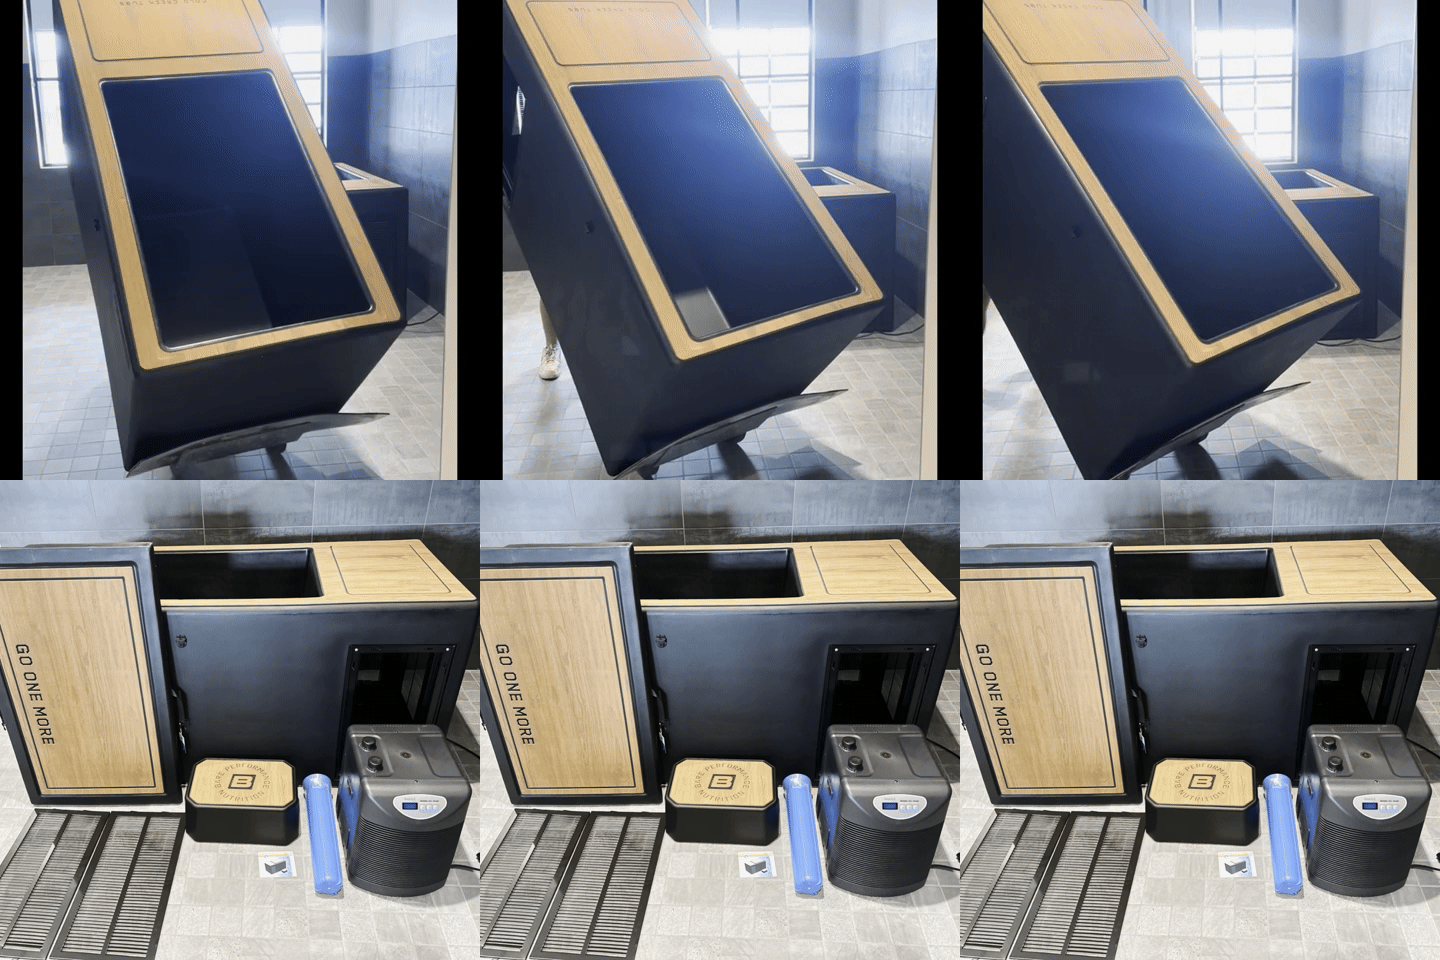
1. Install the Chiller
- Always keep the chiller upright. If it was placed on its side at any point during delivery, let it sit upright for at least 24 hours before plugging it in to avoid potential damage.
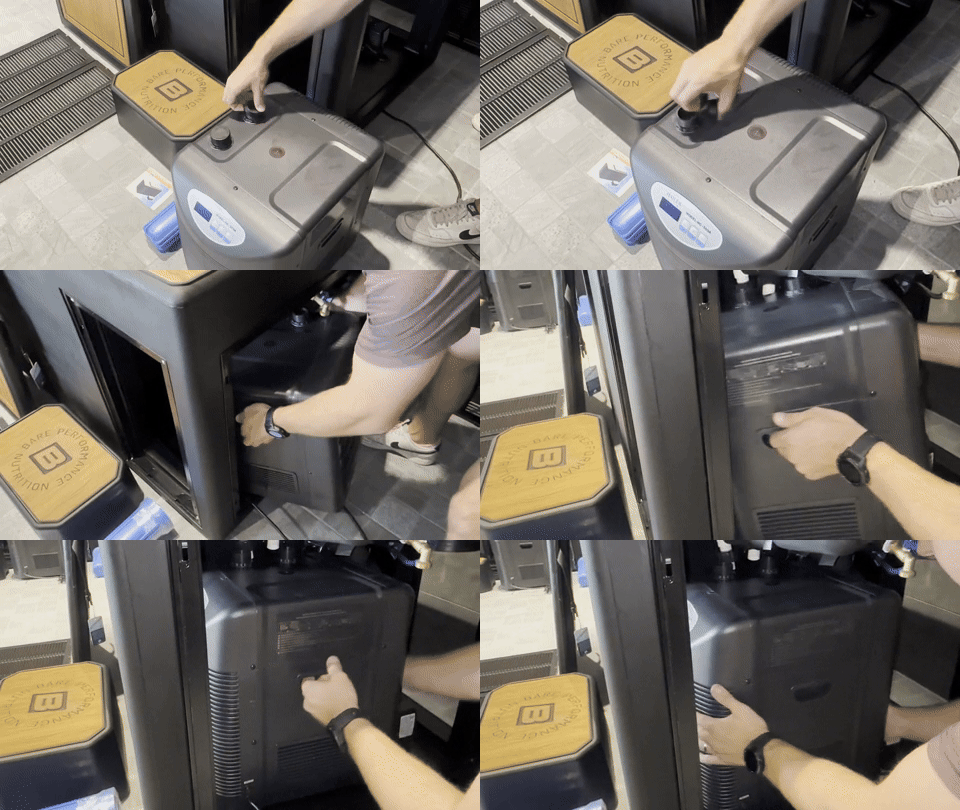
- Remove the caps from both chiller ports.
- Slide the chiller into place with the connections facing the back wall and the control panel facing the small vent door.
- Push each chiller connection down firmly so the black gaskets seat properly, then twist hand-tight.
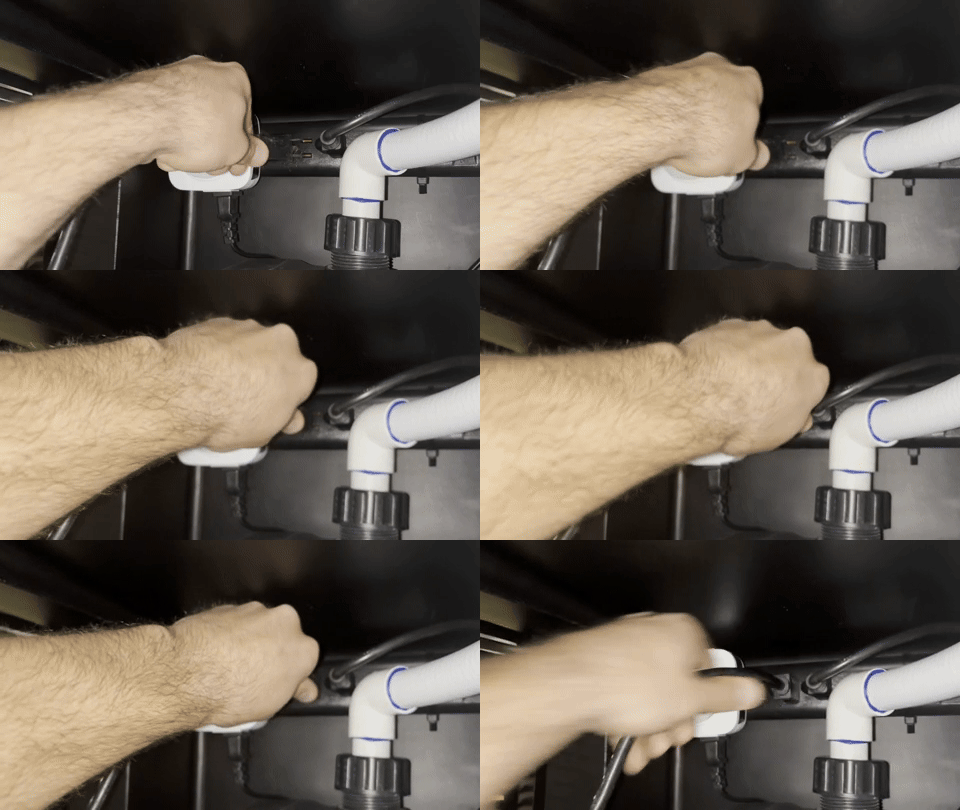
- Plug the chiller into the power strip inside the compartment above it.
Note: The connections are secure even if there’s a visible gap or the collars don’t twist all the way down.

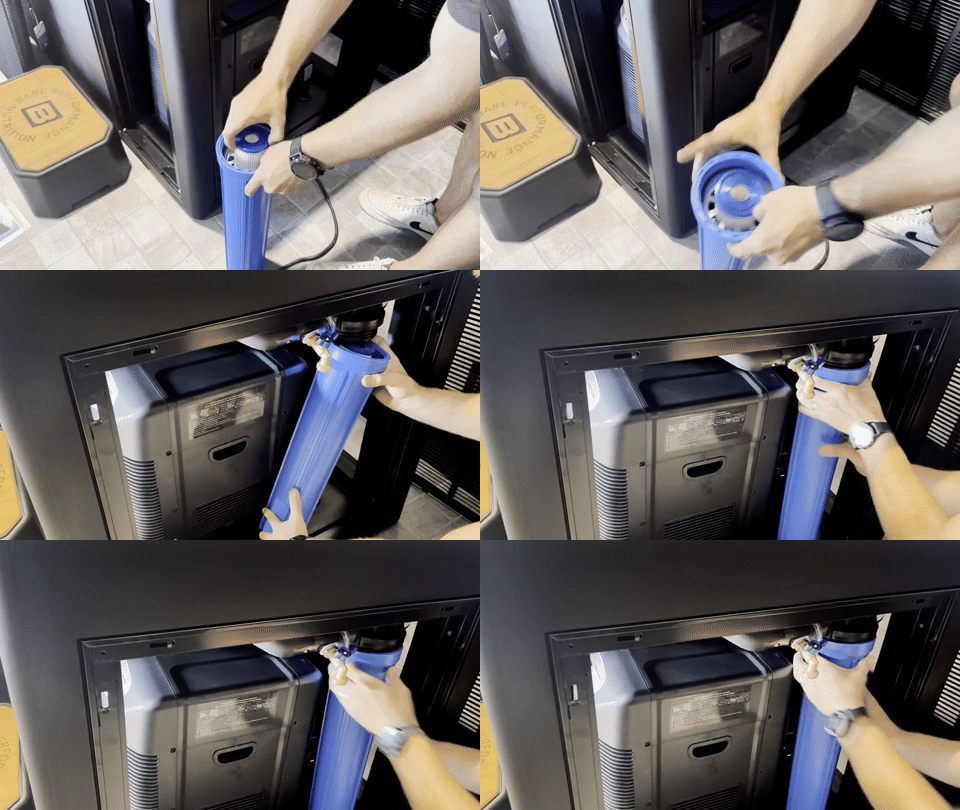
2. Install the Filter
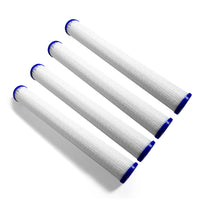
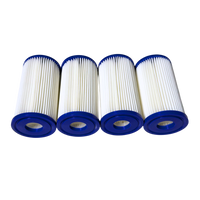
- Unwrap the filter.
- Seat the black gasket securely in the groove.
- Make sure the clear center piece is positioned around the white filter, then place the filter inside the blue housing.
- Hand-tighten firmly to prevent leaks.
3. Ensure Both Valves Are Open
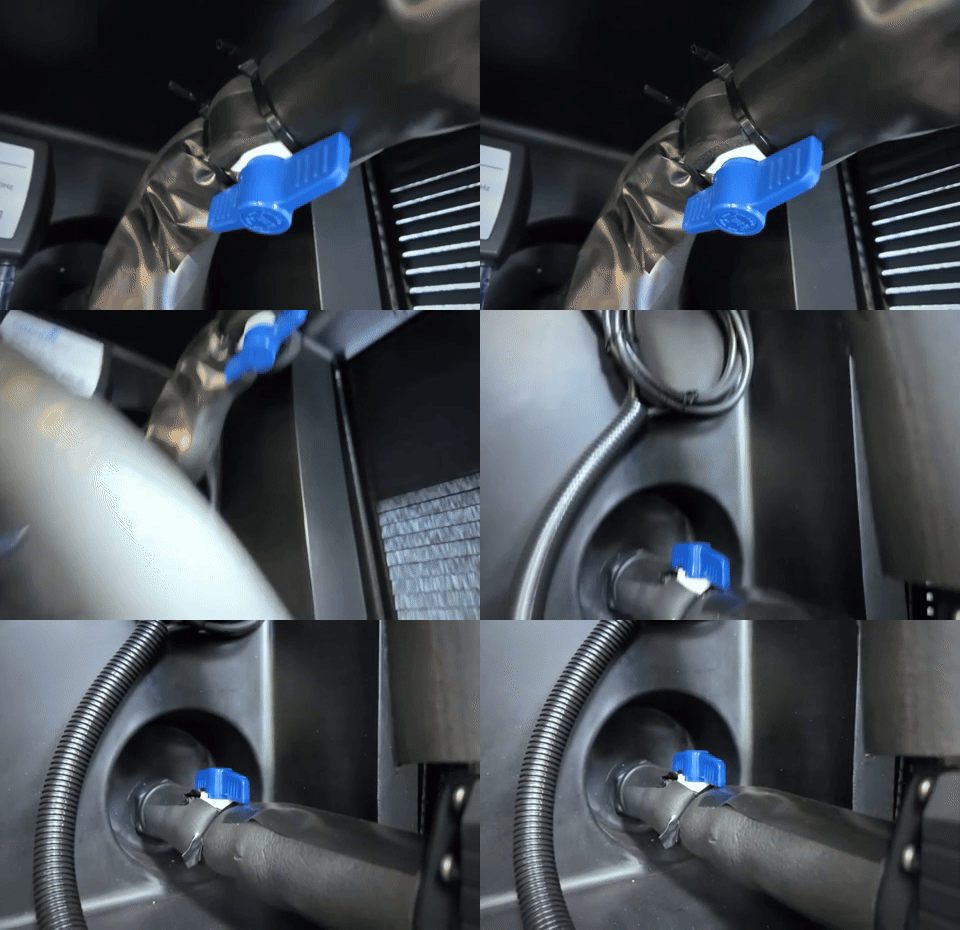
- Make sure both right-side valves (top & bottom) are open (parallel to the plumbing, as shown below.

4. Partially Fill & Test
- Add water a few inches above the bottom inlet before filling completely. This allows you to check for leaks and circulation without having to drain a full tub if something needs adjusting.
- Important: Never power on the tub while empty - this will damage the pump.
5. Plug in and test
- Plug the main power cord into a standard 120V / 15A household outlet. An extension cord can be used if needed.
- Switch on the power strip (green light = on).
- Check that water is circulating properly and there are no leaks.
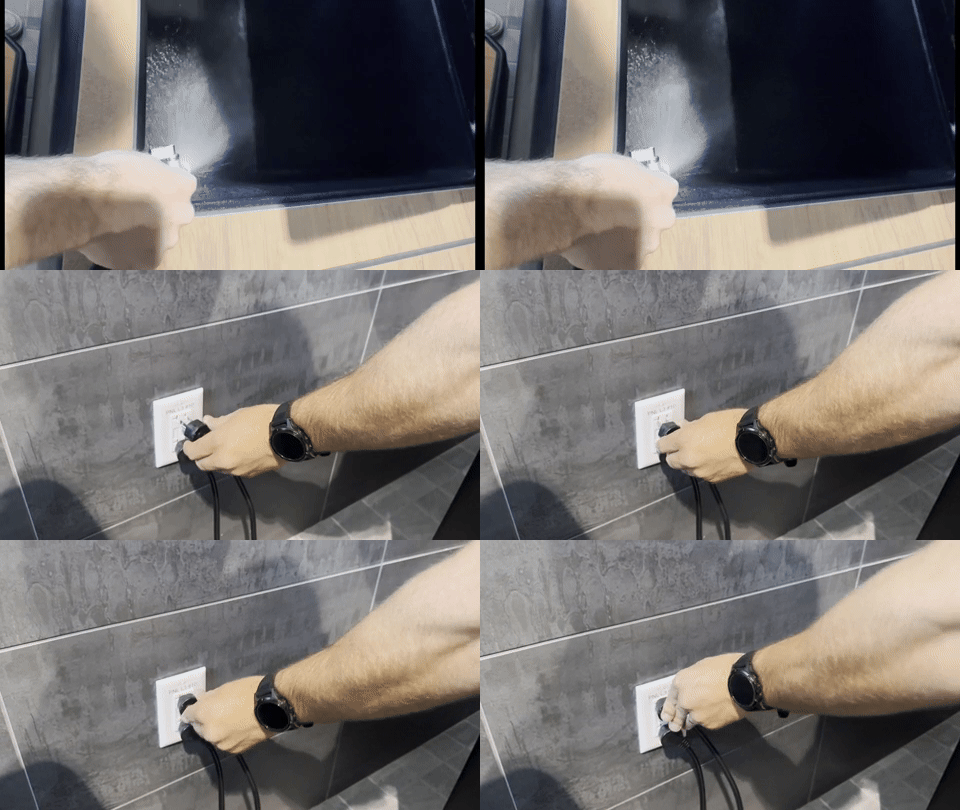
6. Fully Fill the Tub & Turn on Power
- Fill the tub to about 4" above the jet
-
Tip: If using the tub indoors, don’t overfill—leave room for displacement
- Switch on the power strip (green light = on)

7. Set Temperature
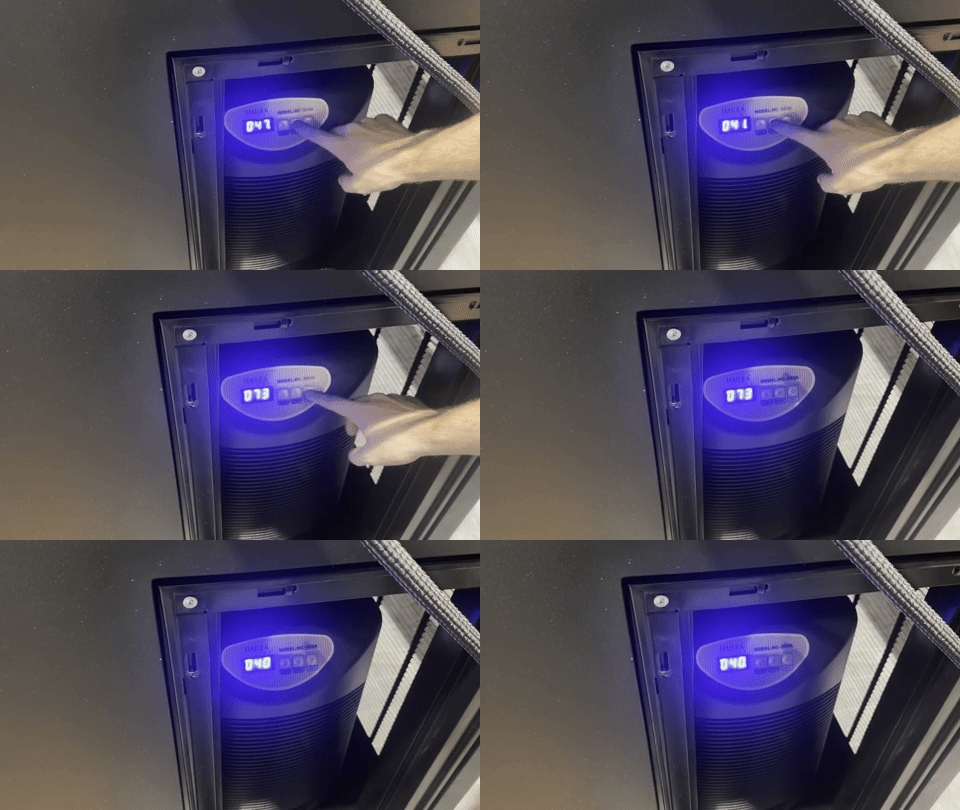
- Open the small vent door to access the control panel (If this vent is against the wall, you can access from the back vent as well)
- Press and hold SET for 5 seconds, use ▲/▼ to choose your desired temp, then press SET again for 5 seconds to confirm
- The display shows the current water temp—if you press "set" once quickly, that is your desired temp
- Once you've filled and set your temperature, it usually takes 12-24 hours to reach it, depending on your starting water temperature. To plunge sooner, just add some ice to cool it faster!
WHAT ARE THESE EXTRA PARTS?

- EVA Foam Scraps → Included for use during delivery if FedEx uses a dolly. Once your tub is in place, you can discard them. Watch the dolly + EVA foam video →
- Plastic Bag → Contains spare chiller gaskets and the child-lock key. Keep this bag stored inside the tub compartment until needed.
- Ozone timer → Located inside the left compartment and controls your ozone generator. It comes pre-set to run automatically for 3 hours each night to help keep your water clean and clear. There’s no need to adjust it. If you'd like the ozone to run longer, simply push down additional pins on the timer to increase the run time.

🔧 Learn more about Tub Components & Parts
Thank you for taking these steps — your care during delivery helps ensure your Cold Creek Tub arrives in perfect condition and ready to enjoy!
🙋 Any questions or need assistance?
📞 Call/Text: (909) 232-8920
🌐 Visit: Help Center for more guides, FAQs, and support.
We’re excited to have you in the Cold Creek family — enjoy your new cold tub!
cold-creek-help-center