


Cold Creek Tubs – Setup Guides
Everything you need to get your Cold Creek Tub set up and ready to use. Choose your tub below to access step-by-step setup instructions, videos, and helpful tips.
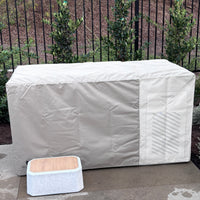
Horizontal Cold Tub

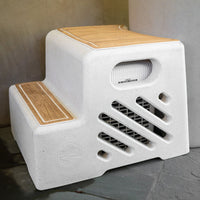
Vertical Cold Tub
View Vertical – Full Setup
View Vertical – Tub Only

🙋 Need Help?
If you need help with setup or troubleshooting, feel free to email or text us a photo or video along with a brief description of the issue. This helps us quickly understand what’s going on and reach out to assist. We’re here for you!
📞 Call/Text: (909) 232-8920
🌐 Visit our help center for helpful resources.
We’re excited to have you in the Cold Creek family — enjoy your plunges!
