

The Drake Cold Plunge – Setup Guide
Quick Start & Resource Guide (PDF)
Setup Videos
Step-by-Step Instructions
1. Placement & Location
-
Indoor/Outdoor Use:
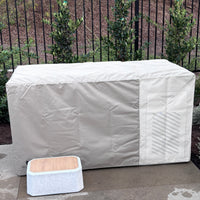
- Black Tub = Must be placed indoors or fully shaded/covered if outdoors. Sun exposure can raise surface temps and cause slight deformation
- Moonshine Tub = Lighter color reflects heat, so can be placed indoors or outside in sun
- Clearance: Leave at least 12" at back vent to access chiller, filter, mechanical compartment, drain spigot
- Exterior dims: 66"L x 33"W x 35"H
- Electrical: Standard household 110V outlet (extension cord works great)
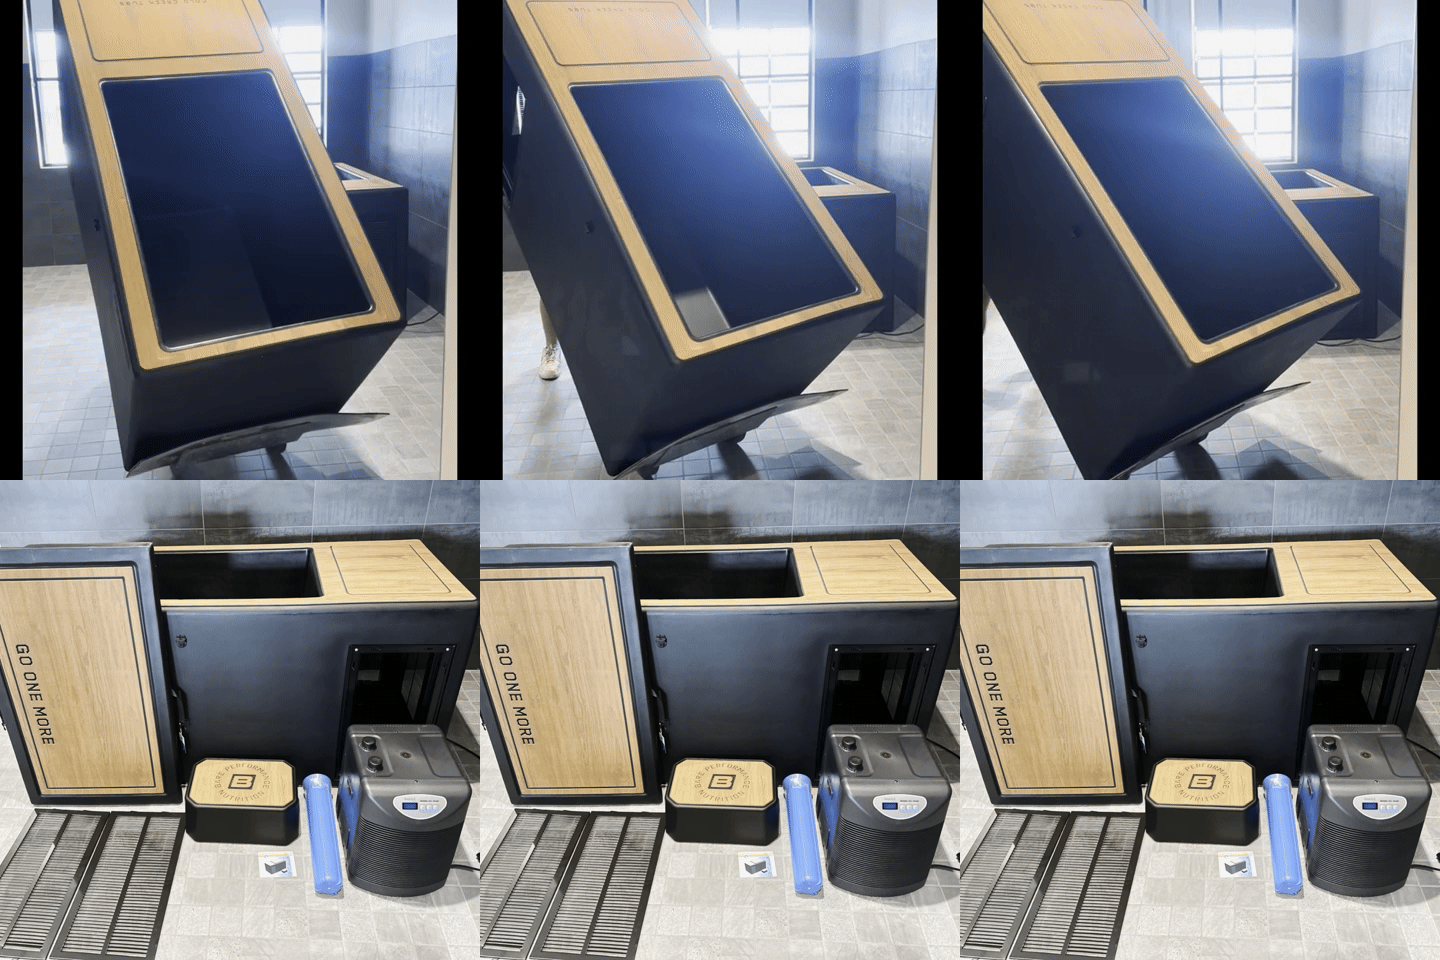
2. Install the Chiller
- Keep the chiller upright at all times
- Remove the large vent panel on the tub and the caps from both chiller ports
- Slide the chiller into place with its connections facing the back wall and control panel facing the small vent door
- Push each chiller connection down firmly so the black gaskets seat properly, then twist hand-tight
- It’s secure even if there’s a visible gap or the collar doesn’t twist all the way down
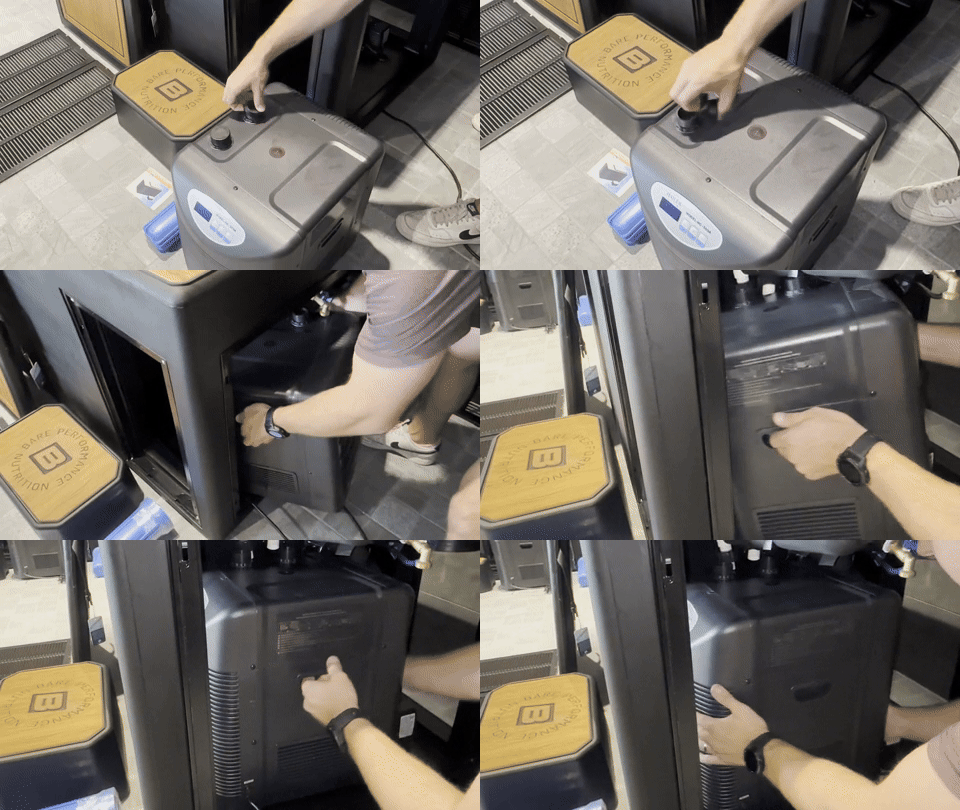


3. Plug In the Chiller
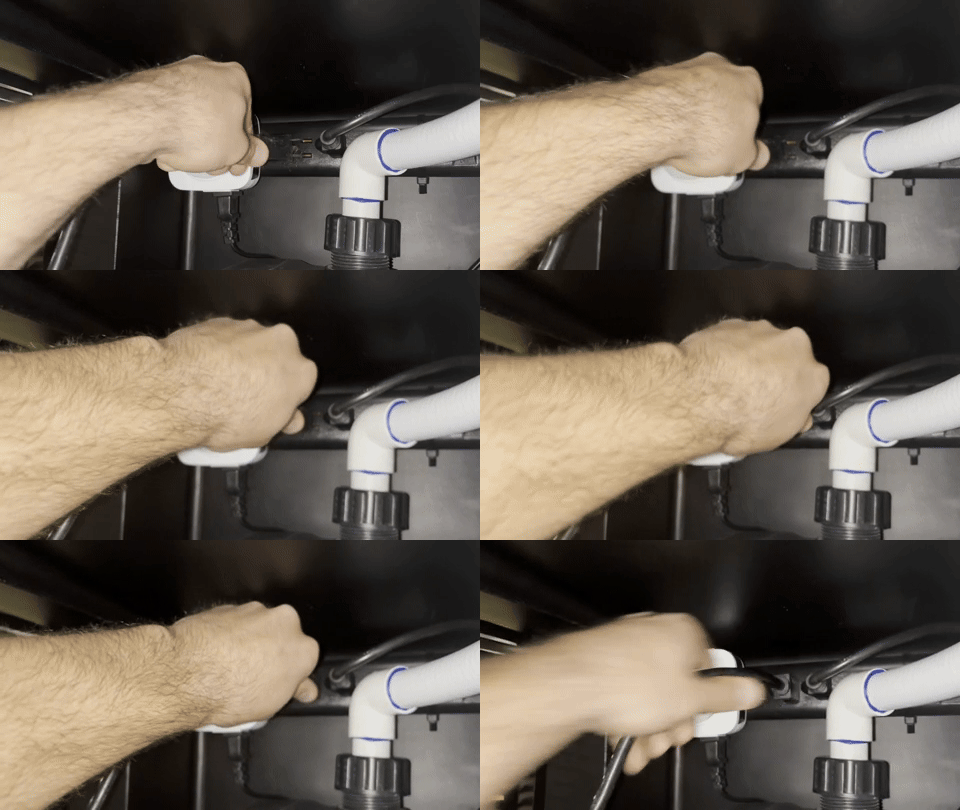
- Connect the chiller to the power strip inside the compartment above it
4. Install the Filter
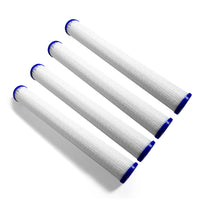
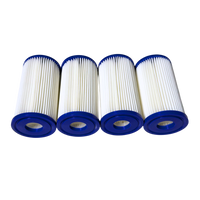
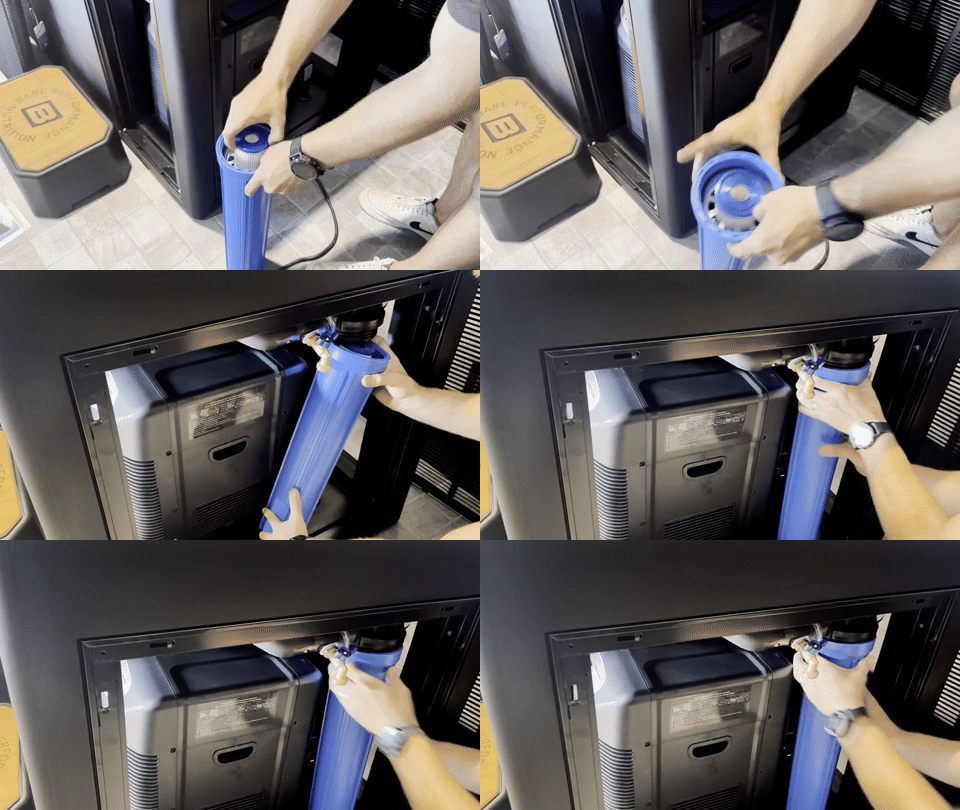
- Unwrap the filter
- Seat the black gasket in the groove
- Hand-tighten firmly to prevent leaks
5. Ensure Valves Are Open Before Filling
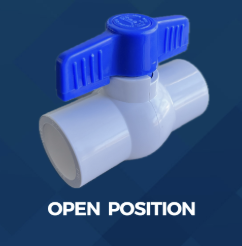
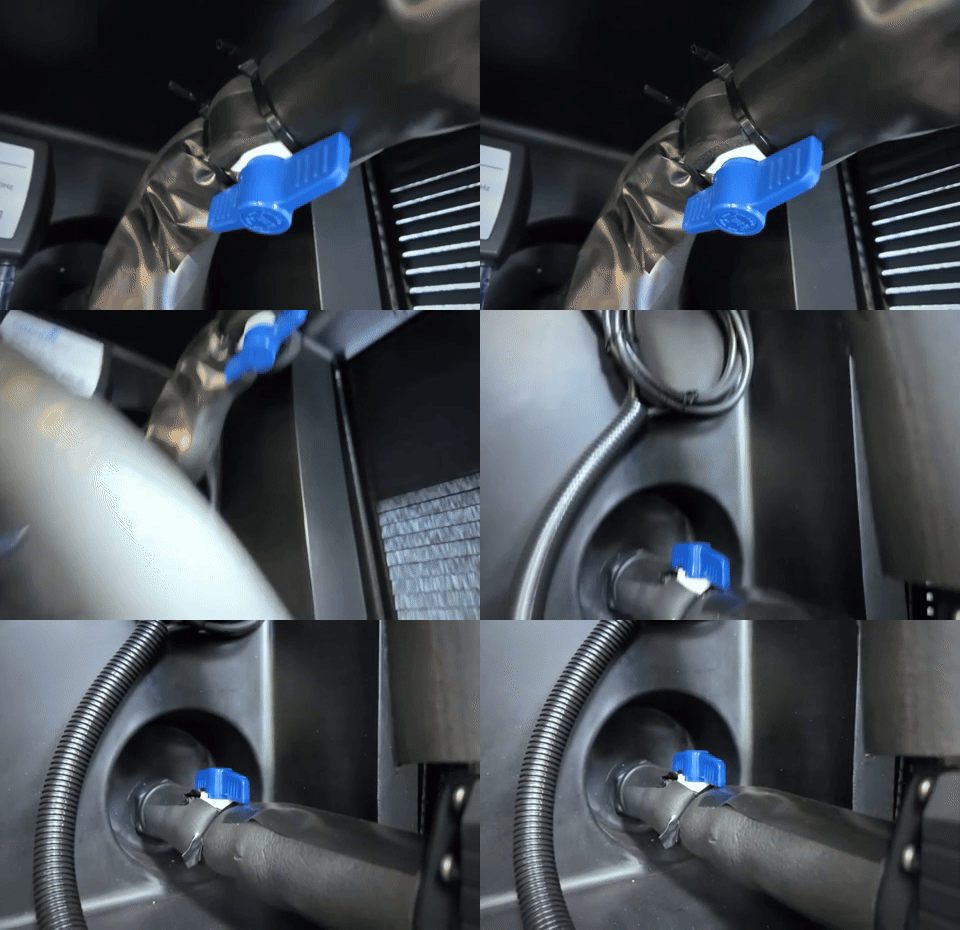
- Make sure both right-side valves (top & bottom) are open before filling
- Valves should be parallel to the plumbing as shown below
6. Partially Fill & Test
Tip: This saves you from draining the tub later if any issues come up during setup or power testing.
- Add water a few inches above the bottom inlet inside the tub to check for leaks and circulation before filling completely
- Important: Never power on the tub while empty—it can damage the pump
7. Plug into Outlet
- Plug the main power cord into a standard outlet (an extension cord works great)
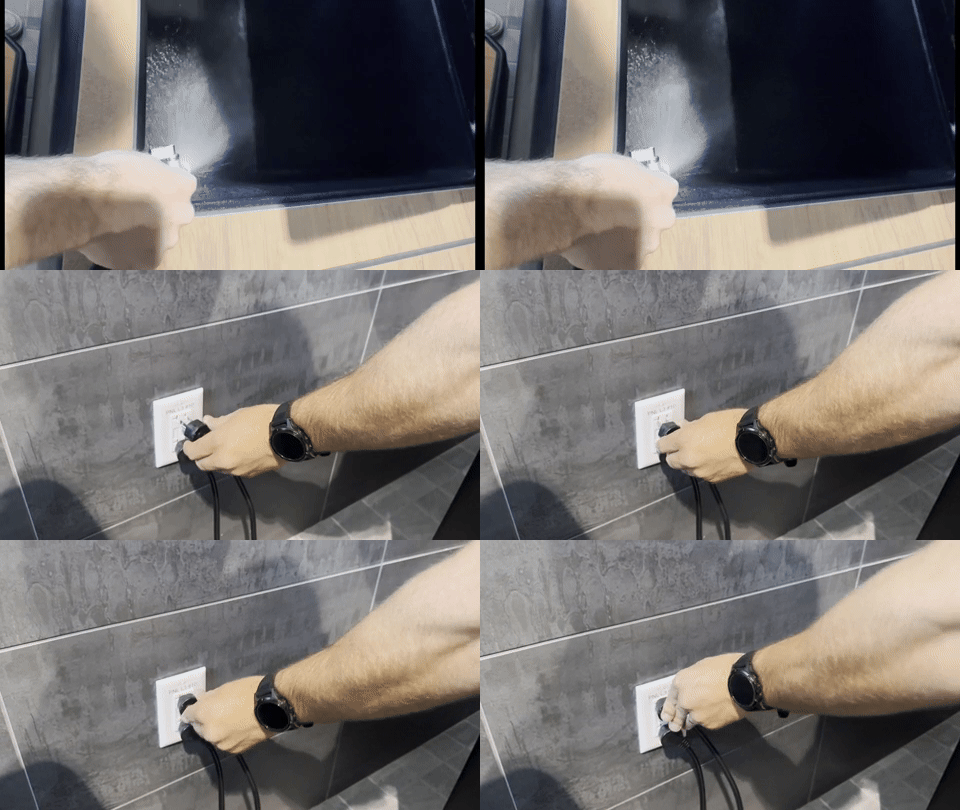
8. Fully Fill the Tub & Turn on Power
- Fill the tub to about 4" above the jet
-
Tip: If using the tub indoors, don’t overfill—leave room for displacement
- Switch on the power strip (green light = on)

9. Set Temperature
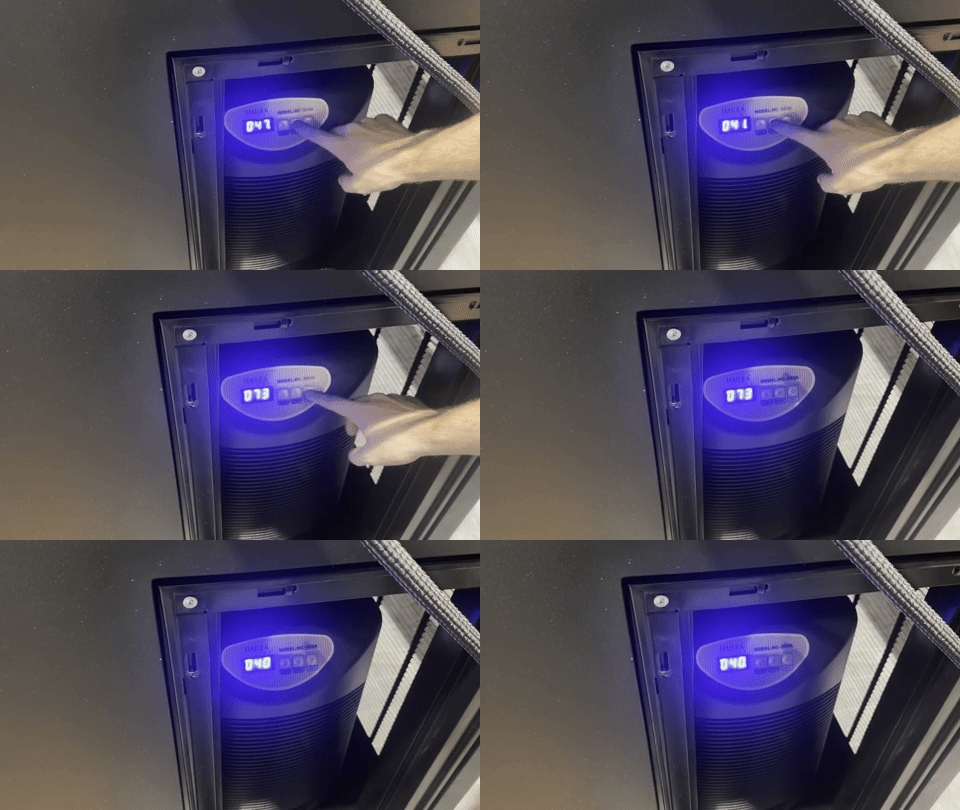
- Open the small vent door to access the control panel (If this vent is against the wall, you can access from the back vent as well)
- Press and hold SET, use ▲/▼ to choose your desired temp, then press SET again to confirm
- The display always shows the current water temp—not the set temp unless SET is pressed
- Once you've filled and set your temperature, it usually takes 12-24 hours to reach it, depending on your starting water temperature. To plunge sooner, just add some ice to cool it faster!