
Troubleshooting
Quick Diagnostic Flowchart
Problem: Tub Not Cooling
1. Is power strip on? (green light)
→ No: Check outlet, circuit breaker, extension cord
→ Yes: Continue to next step
2. Is chiller running? (fan noise)
→ No: Check chiller power connection
→ Yes: Continue to next step
3. Are valves open?
→ No: Open both blue valves
→ Yes: Continue to next step
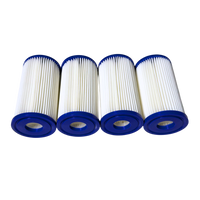
4. Is filter clean?
→ No: Clean/replace filter
→ Yes: Check chiller coils. If issue persists, call support
💧 Water Quality
Cloudy/Murky Water
Overview: Cloudy water is almost always caused by contaminants entering the tub — things like sweat, lotion, body oils, or soap. The ozone system disinfects but isn't designed to handle heavy buildup, so prevention is key.
Causes:
- Sweat, soaps, detergents, body oils, hair products
- Residue buildup in tub
Solutions & Prevention:
- Rinse before use - Remove sweat lotions, oils, soaps
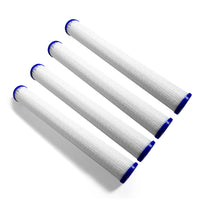
- Check filter - Install new filter recently
- Run ozone longer - Use timer push down 4-6 dials (2-3 hours) video
- Drain & refill - Easiest solution for persistent cloudiness
- Balance water - Use Spa Up/Down for pH
Bubbles or Foam on Water Surface
Overview: Some bubbles are normal from the ozone system, but persistent foam usually means extra contaminants (sweat, soaps, oils, hair products) have entered the tub.
Causes:
- Normal ozone bubbles from jet
- Sweat, soaps, oils buildup, hair products residue
Solutions & Prevention:
- Rinse before use - Especially after sauna
- Replace filter & water regularly:
- Residential: Every 2-3 months
- Commercial: Monthly or as needed
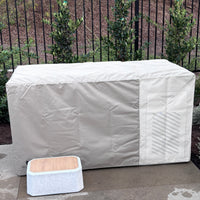
- Control water line - Use attached sponge for surface buildup
- Drain & refill - If foam persists
Balancing Water Chemistry
Overview: If you notice your water quality to decline and the ozone system and filter aren't enough - even after filter and water changes - proper water balance is the key to getting it back on track. Checking and adjusting pH regularly will help keep your water clear.
Signs of Imbalance:
- Cloudy or discolored water
- Readings outside the range on pH test strips Cloudy or discolored water
Balancing Solutions:
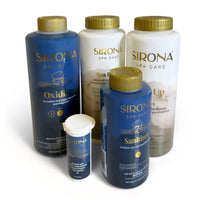
- Use Sirona solutions sold by Cold Creek Tubs
- Test pH - Use test strips (instructions below)
- Target pH - 7.2-7.6 Ideal Range
- pH too high? - Use Spa Down (sodium bisulfate)
- pH too low? - Use Spa Down (sodium carbonate)
- Retest after circulation - Allow ozone and circulation to run before adding more
How to Use Test Strips:
- Dip one test strip into the water and remove it
- Hold the strip level for 10-15 seconds without shaking off excess water
- Compare the strip's color pads to the chart on the test strip bottle
- Adjust as needed with the chemicals (Sirona instructions below)
Tips for Adjustments:
- Little goes a long way - small, gradual adjustments
- Go slowly - cold water dissolves chemicals more slowly than hot tubs
- Retest after circulation - always wait before adding more

